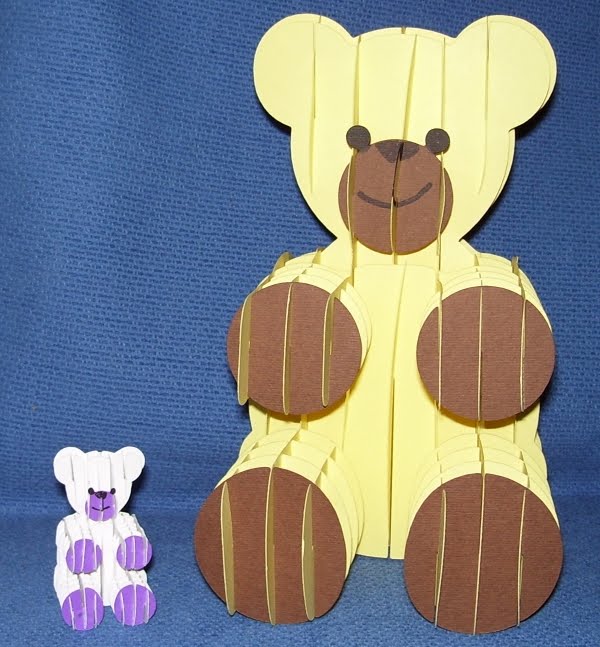
With this little guys neck he stands 8 inches tall
adapted from the teddy pattern
hand drew the dots on him as i was putting it together
adapted from the teddy pattern
hand drew the dots on him as i was putting it together

 ANSWER SOME QUESTIONS.
Am i going to share the patterns?
Sorry at this point of time the patterns will not be shared
(that could be maybe at this point of time I don't know yet)
But please enjoy looking at them and tell me what you think
from time to time
Am i going to share how to make patterns like this?
Not at this point of time I am still learning sorry
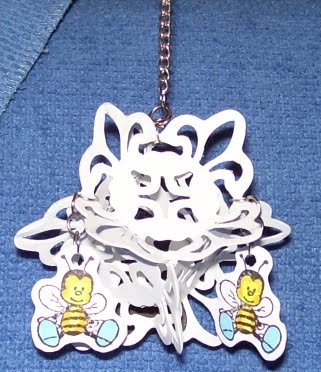
Designed in inkscape and cut using sure cuts a lot
Be sure to tell me what you think
!
\ ! /
\/