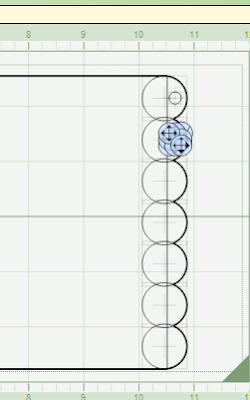
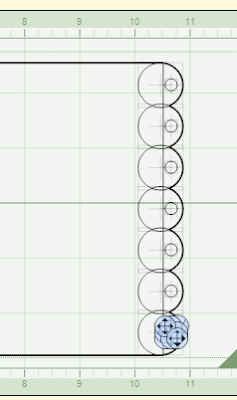
Yesterday i put a lesson on how to make a scallop edge card
well today i am taking that card a little further .
LETS BEGIN
Make the card from yesterday lesson
in yesterdays lesson i used six pushes of the down arrow key
today you have to use the six pushes as well
paste a circle and make it the size you want
(i made mine .221)
place it in the top circle scallop
(i put mine off to the right hand side of the scallop)

Continue Copy, paste, push 1 2 3 4 5 6 ,Copy, paste, push 1 2 3 4 5 6 ,
Copy, paste, push 1 2 3 4 5 6 ,Copy, paste, push 1 2 3 4 5 6 ,
Copy, paste, push 1 2 3 4 5 6 ,Copy, paste, push 1 2 3 4 5 6 ,

Sticking with the same amount of arrow pushes you will know that
they will end up in the right places
Now they are NOT welded and this is now another look to
yesterdays card check and cut


1 comment:
I have to tell you how much I appreicate all the lessons you share with us....I have learned so much from you...thanks!
Post a Comment