Here is another Basic get to know
inkscape lesson
In this one we will make a simple 21st
birthday card (but you can do what ever you like )
LETS BEGIN
Start by typing your lettering and picking the font
inkscape lesson
In this one we will make a simple 21st
birthday card (but you can do what ever you like )
LETS BEGIN
Start by typing your lettering and picking the font

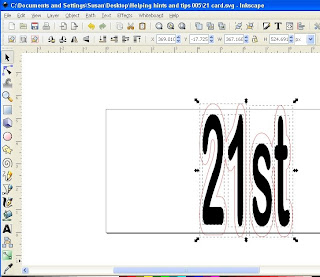
Do a copy of that lettering
and what i do is change this one to outline in different
colour and remove the fill .
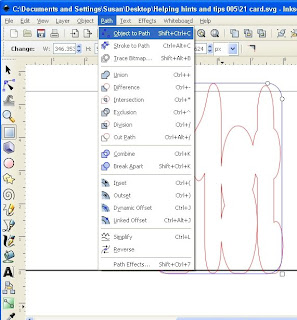
While that is selected Then Path Dynamic offset
 A little square will appear drag that out till you
get the required shadow
(note on this my 21 shadow is now touching
and then my st shadow is now touching)
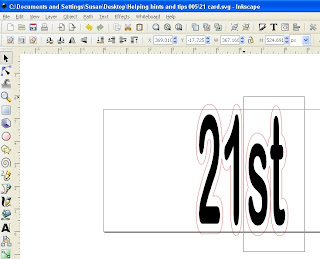
Using the left arrow key on your key board
slowly move across till it just overlaps the
shadow lettering of the 21
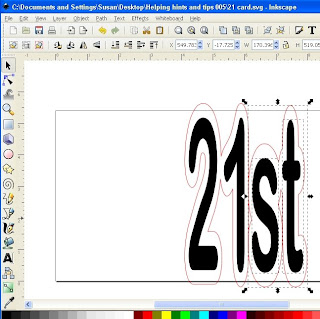
Now just select the shadow parts of both lettering
(select one then holding down the shift select the other one)
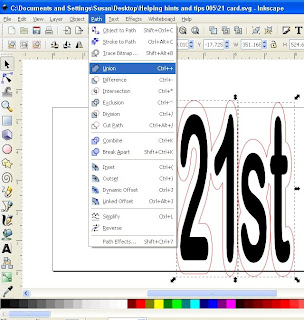 Now select all the top lettering and combine
(this way when it is moved or imported to cut it will
stay together)
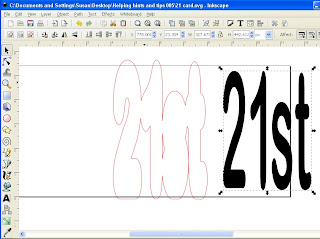
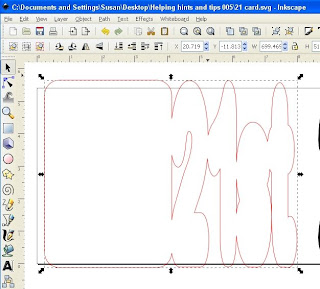
Now it is time to make the back of the card
get a rectangle the size of your shadow lettering
(round the corners if you want)
with control key on keyboard held down slide the rectangle
across to the left hand side of the shadow lettering
Leave it VERY slightly over lapped
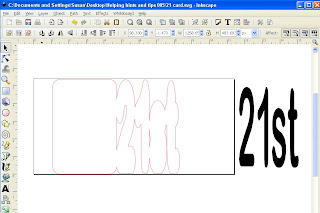
 Using 04 lesson HERE
you can work out where to place your images ready for importing
into sure cuts a lot
Save as .svg
Open Sure cuts a lot set your import size
(i design in 5.4 inches so that is how i set mine)
FILE import and pick your .svg
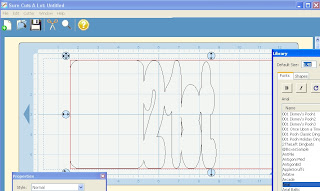
place it so it fits on the mat (well the base of the
card will fit on the first mat)
File save as and save as ______base card.scut
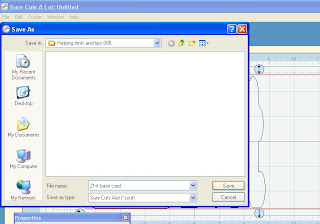
then use the left arrow key on your keyboard and
move left till just the top lettering is the only thing on your mat
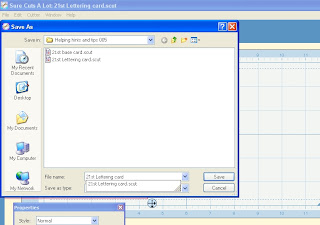
Now you are ready to cut
Enjoy
Enjoy




2 comments:
great tut but what do you use to cut them?
Thanks
Maggie
Http://cuttlebugchallegne.blogspot.com
Thanks for the info I think I have managed to create something, now all I need to do it try and cut it.
Post a Comment