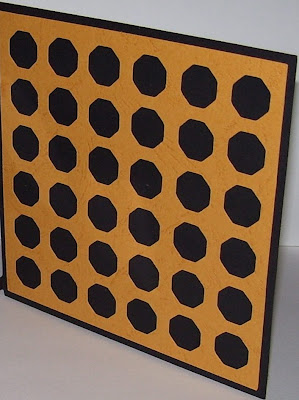
the photo below is the inside of a card that i made, but it can be used for fronts of cards as well (anything that your imagination can come up with )
1.Start by placing the shape or thing you want on the mat and make it the size you want it .

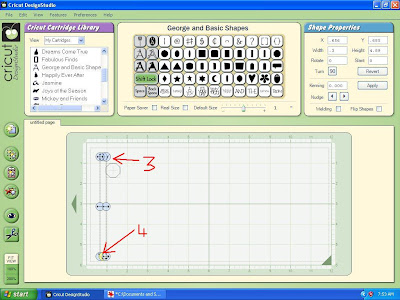
2. Now what you do is add a TEMPORARY SPACER (this will be deleted later )

3. Place it along side your shape/image you want spaced
4. and make it long (you will see why later )
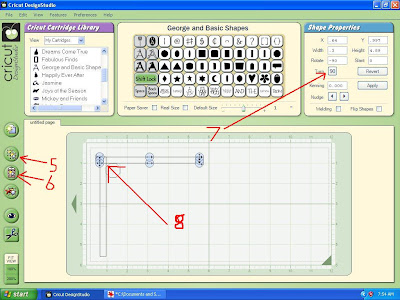
5. copy
6. paste
7. and turn 90 percent
8. move it so it is above your shape/image
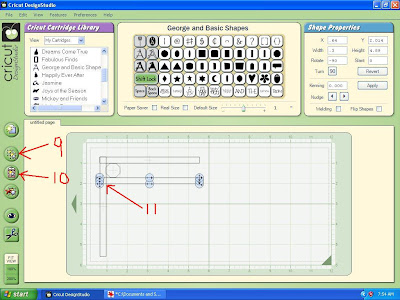
9. copy
10. paste
11. and move below the shape/image
12. back to the first temporary spacer highlight
13. copy
14. paste
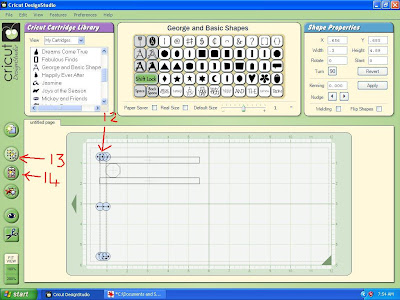
15. move so it is the other side of the shape/image
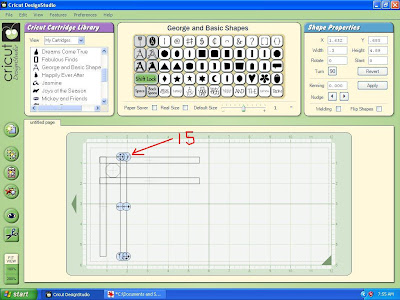
16. highlight your shape/image
17. copy
18. paste
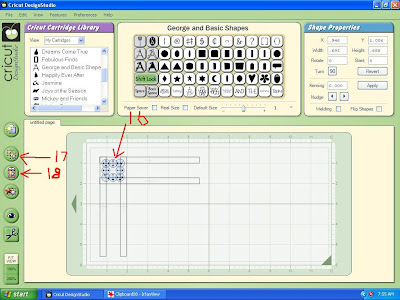
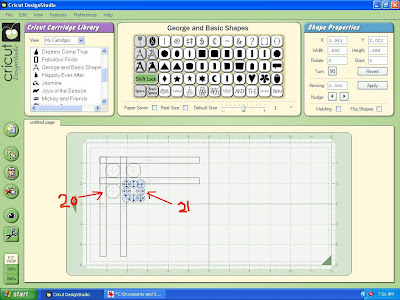
19. move across so it is the other side of that spacer
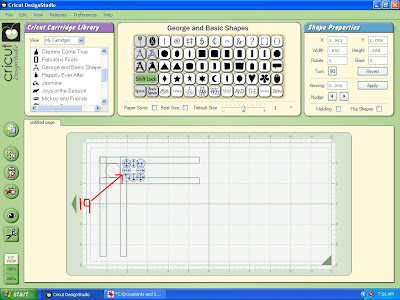
20. paste another and move it down under across spacer
21. copy and paste that one and move across so it is other sided of the spacer
22. highlight up and sown spacer
23. copy
24. paste
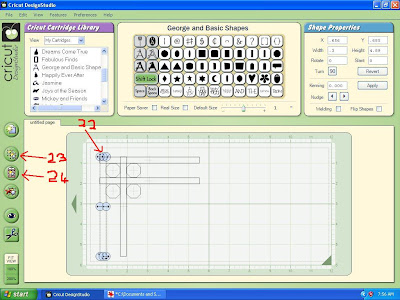
25. move across using the straight arrow
26. so it is the other side of the shape/image
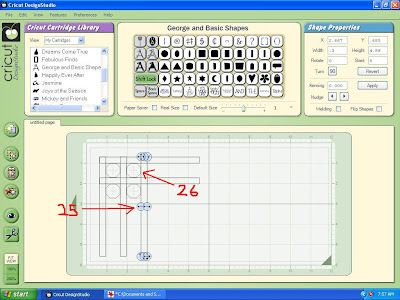
27. highlight the across spacer
28. copy
29. paste
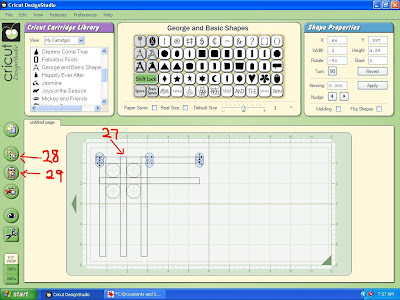
30. using the straight arrow move
31. down so it is below the shape/image
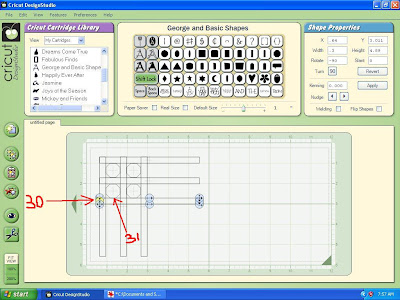
32. highlight your shape/image again
33. copy
34. paste
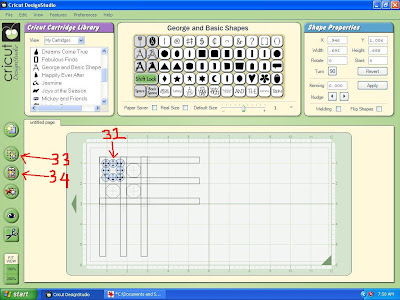
35. move down into place
36. paste another
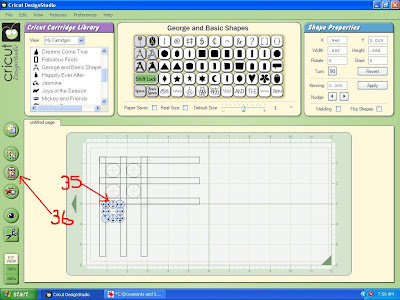
37. move across into place
38. copy
39. paste
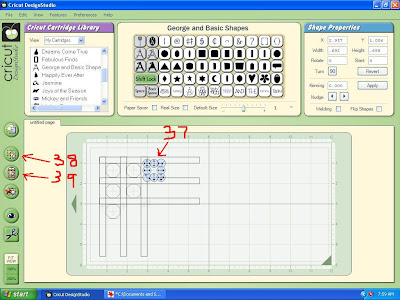
40. fill the areas with shape/image
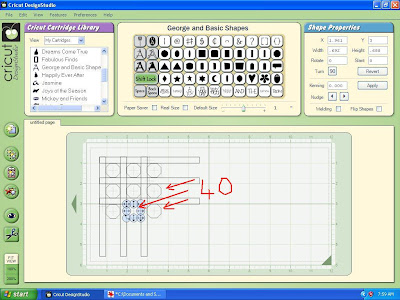
41. highlight up and down spacer
42. copy
43. paste
44. move into place
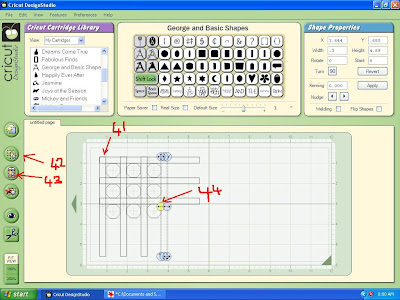
45. highlight across space
46. copy
47. paste
48. move into place
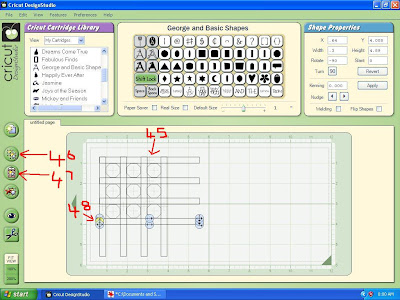
YOU can continue to do as many as you like (but for lesson i will stop there )
49. Choose a square
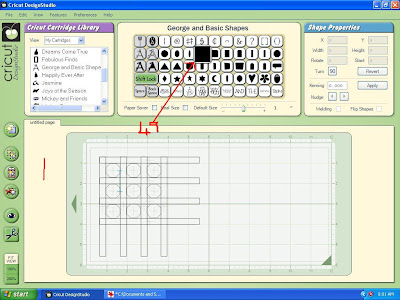
50. size the square around your shapes
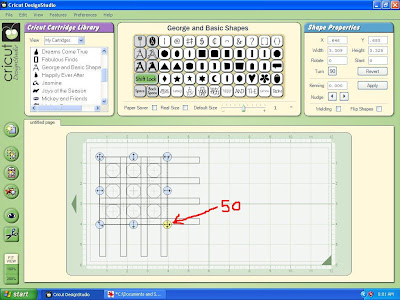
51. Now highlight
52. and delete spacers
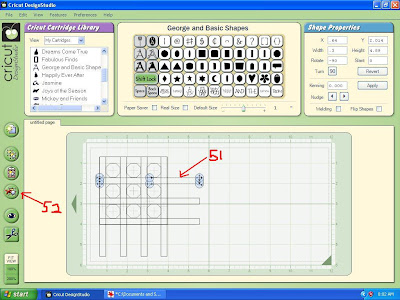
one way then the other
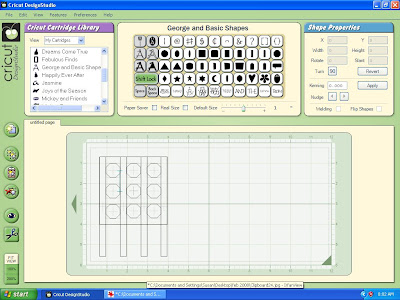
52. highlight spacers
53. and delete
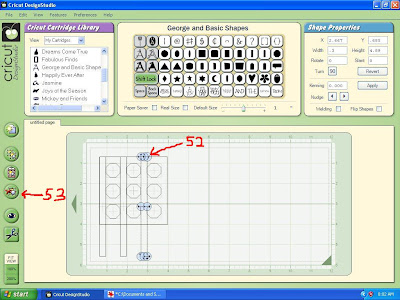
AND YOU ARE left with a box with evenly spaced shapes/images in it
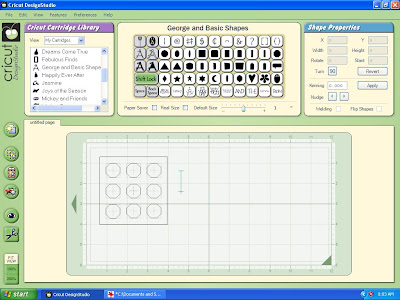
cutting out is easy now
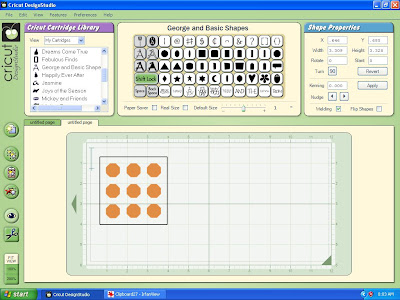

3 comments:
You have come up with another GREAT lesson, thank you. Such a simple idea that works beautifully!!
Fantastic tutorial! Lots or easy to understand instructions and Pictures!!! Love it!
THANK YOU!
This is a great tutorial Susan, but I think I have found a quicker way to create the same effect. If you place your first shape on the mat, copy and paste it then using the arrow keys on the keyboard count the times you hit the arrow to move the shape to a desired position. Copy and paste the shape in the new position and use the same number of hits to move it again. Keep copying and pasting the new shape and move it in the direction you want with the same number of hits on the arrow keys. This saves any inaccuracies placing the shape 'inside a box'
Post a Comment