I was never convinced about cutting dingbats cause of the lots of little pieces that get cut out. BUT now after learning lots and lots about inkscape from watching (more than once i might add)
all the videos from screencasters heathenx
(Although the videos were not on how to convert for SCAL I found them to be very very helpful on getting to know all the ins and outs of the program)
i now love the idea of dingbats with a little moderation in inkscape.Here is another lesson on how to clean up and add lots of small pieces in the picture all together.
LETS BEGIN
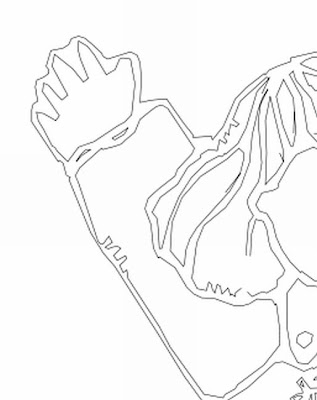
You will notice the one on the right is the dingbat as it comes (viewed outline)
well the one on the left is after i have joined pieces (this lesson)
and cleaned up( other lesson )
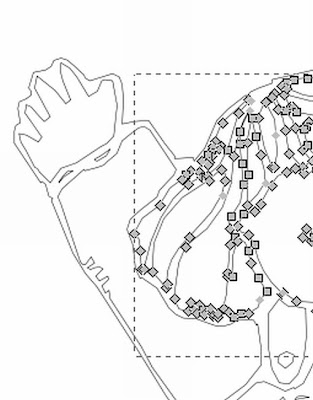
 start on outline view , with all broken apart.I want to fix the hair first, so i highlight the hair area
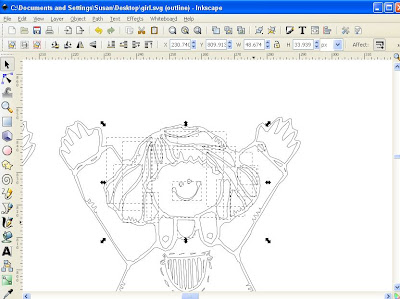
and do a path combine
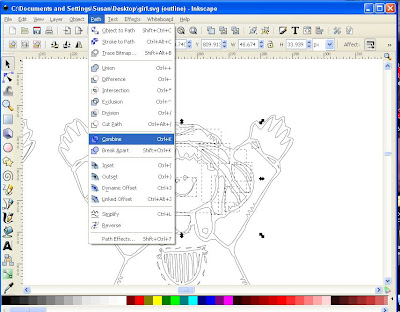
That will combine all that area to fix
Right we will start at this side of the hair select one of the nodes between
the lines that you want to be joined
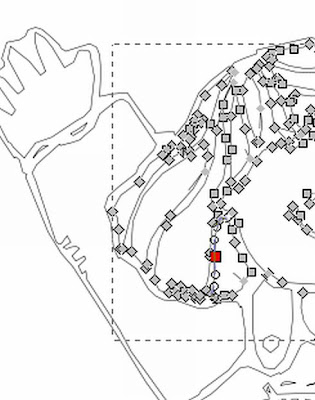
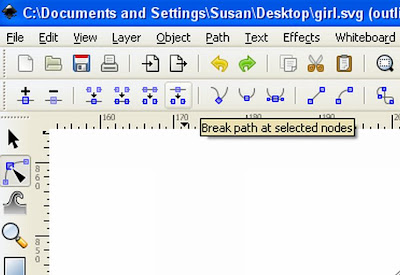
with that selected press "break path at selected nodes"
(
it is the one on that is the sixth in from left hand side)
Then press "delete selected nodes"
(
second in from left side)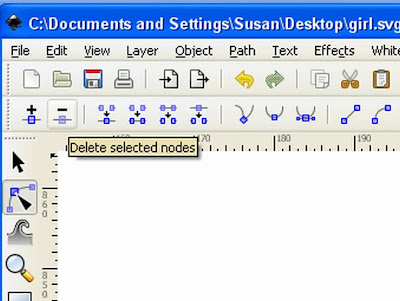
You will notice that that line is now broken apart
view with out the nodes. And do the same as above to the node along side this one.
So it now looks like this
NOW select the two nodes one from each
(
select one, then while holding sown shift key select other one so they are both now blue)
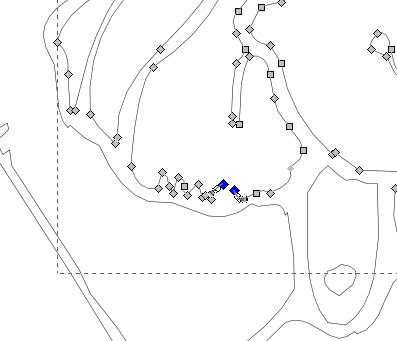
while they are both selected push on "join selected endnodes with a new segment"
(
fourth from left hand side)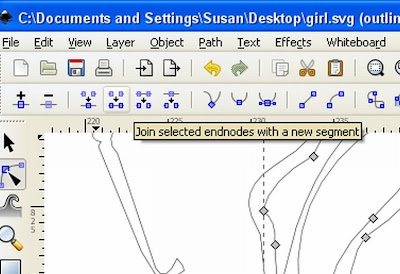
And they are now joined

NOW select the other two nodes one from each
(
select one, then while holding sown shift key select other one so they are both now blue)
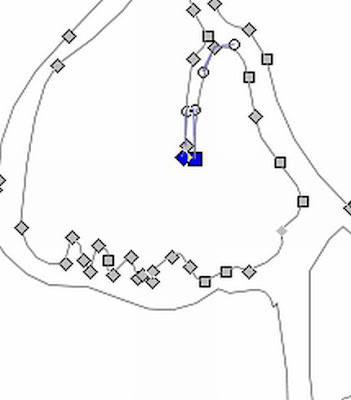
while they are both selected push on "join selected endnodes with a new segment"
(
fourth from left hand side)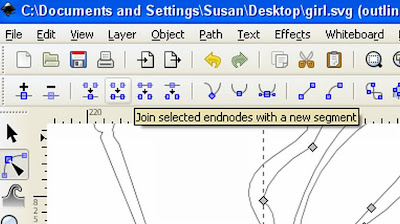
That is how you join two sections together (
it is so easy ) you can now continue
doing all parts so as there are not tiny pieces to cut that are impossible to glue
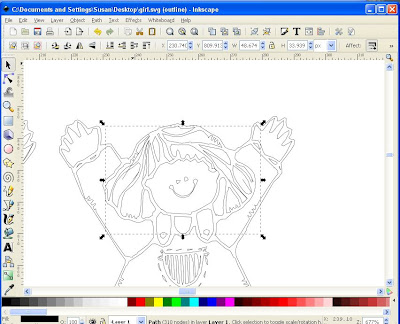
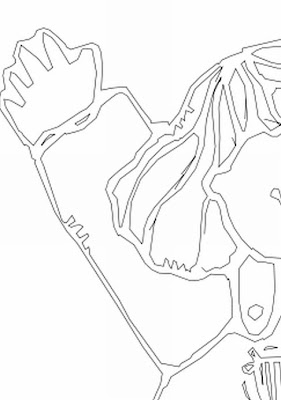
 I went ahead and cleaned up and joined to make a picture that looks nearly thesame, but cutable
 NOW TO either of the lessons
 Stay tuned


