Scrap Factory Expanaion Packs

Showing posts with label Inkscape. Show all posts

Monday, December 03, 2012

Clear ornament

Yesterday I showed an ornament that I 
made for the alota challenge . Today I am here
to show how i got it made.
A while back I showed a fantastic extension that i found
for inkscape to make tabbed boxes HERE.
Well it started me thinking maybe i can make 
the boxes the same way but with card stock (but 
I would have to do some tweaking )
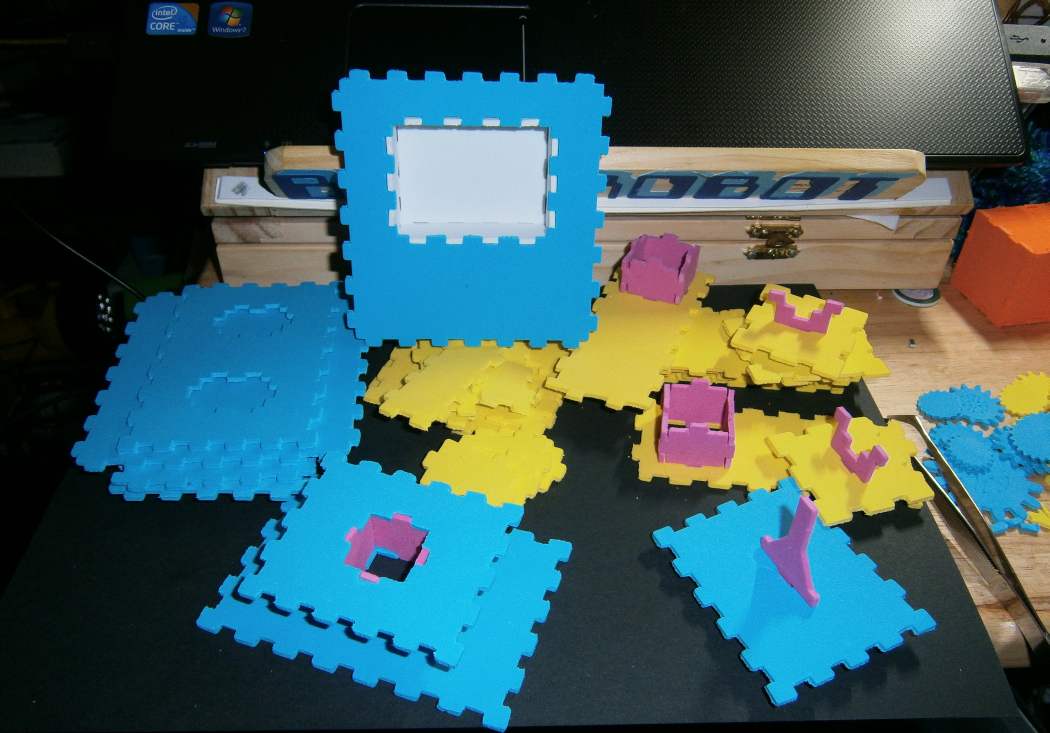
then I made this white boxes 

All put together with NO GLUE 
hmm got me thinking  NO GLUING  that is 
perfect for clear acetate as  that is not an easy 
thing to glue
So with that same pattern that I had tweaked 
(adding the extra little part on each tab so that they 
lock together and not pull apart easily)
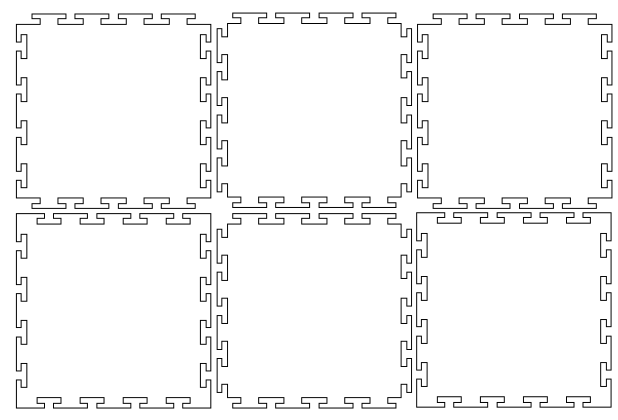
I cut it out of clear over heat projector plastic 
and then put it together  (little testing being clear but 
I did it  ) designed in inkscape and Designed in MAKE THE CUT to tweak
and cut on the ZING. Added white paint pent for the snow.
 If you live in Australia and New Zealand 
and wondering where you can get an

Zing then SKAT KATZ is the place to find them

Monday, September 24, 2012

Owl will be your FRIEND

I made this pattern for a friend back in March for her birthday after 
her mentioning that she wishes someone had a sliceform owl pattern.
I then thought I know i will surprise her with it and here is the 
result.


Then I thought it would be nice to have them in a card 
together .
bit of trail and error and i managed to have them open 
up really good to look like they are talking together 


Designed in inkscape and cut in make the cut on the ZING 
Let me know what you think.

I am off to  explore some more.
 If you live in Australia and New Zealand 
and wondering where you can get a KNK Zing 
SKAT KAT  is the place to find them

Tuesday, September 04, 2012

Fathers day to the moon!

Fathers day in Australia was this past Sunday
While surfing the net last month I came accross  this wonderful Queen of hearts rocket and really liked the shape But wanted to cut and emboss it on my cutter so I got the pdf file and started 
Well it is not the sort of pdf that can be handled in Make the cut  so I nearly gave up then I decided that  I really wanted to make it so I then went to inkscape and hand traced the pieces and got it into something  that i could finally use in Make the cut (not a quick thing to do but I am happy I stuck with it )  and cut it on the zing and then ran through the cuttlebug
I added automobile pin striping on the rocket and chair .
Changed the queen to a BLUE ROBOT
The lid comes off
and there is a seat inside
Just fits the bluerobot
Snug in side to go to the moon

Tuesday, July 31, 2012

Crazy! but made a ROBOT

Join me today to see just how crazy I can be.
I posted to my blog yesterday a pile of funfoam I was cutting out 
had not finished even the cutting out when I posted that . There was 
just under 100 pieces cut of all shapes and colours
My adventure started when Neal was on Hack a Day blog
and found the link to Boxmaker blog which had the inkscape 
extension. Soon as i seen it I thought oh I know what I want to make.
After working out how it all works I then sat on Sunday night and
inkscaped and worked out what I needed to cut 
(including trying to work out how to have the joints for the 
boxes to join together )
YESTERDAY I woke and started cutiing what I had made so 
far. (I did have to recut and make things along the way as you will see)
While waiting for Neal to go buy me more fun foam I started to sort
what i had cut already.
First thing I hated and knew it needed to be redesigned and 
recut before going any further was the legs  way to small
for the rest of the pieces
Then time to see if the idea of the joining parts would 
work (yeah they did)
Legs now twice as long and happy now
starting from feet up  and two legs  look good with base
Now for the body, one good thing is no glue so you 
can pull apart and put back together as you go
if things need tweaking BUT one bad thing is sometimes
it would fall apart while making too . 
Body went on

Put arms on BUT NOT HAPPY with them they are too 
big YUKKY
Put that aside and made up the head . None of the glues 
would stick the funfoam eyes nose and mouth on.
Think what now  ?
Oh I know I pulled apart and used little brads
Worked really good
So I gave him gear ears as well
Nearly done BUT hated the arms still
Pull the front panel off and add the gears in the 
there as well 
Now that is better
But hate those arms
Amputated the arms
Recut some more  OH much better
Good thing  I am happy with his arms now
By the way incase you are wondering he is 
12 inches tall 


Please let me known what you think. Enjoy 
 
 
I am off to  explore some more.
 If you live in Australia and New Zealand 
and wondering where you can get a KNK Zing 
SKAT KAT  is the place to find them

Monday, July 30, 2012

WHAT ? Am I crazyyyy?

WHAT?
Hmm blog entry today? Hmm no don't think so come 
back tomorrow maybe i might get through this and 
see something for it all (and still have more to cut
for it )

I designed something using this HERE and 
I will be a while putting together 

AM I CRAZY?
Answer is yes I think so ?

Sunday, July 29, 2012

Box Maker from download to inkscape to make the cut to zing and a box

Inkscape is wonderful for lots of things and the person from 
Maker ( via Hack a Day) has made this wonderful box extension  for inkscape 
to be able to type in the size of box and thickness of material that 
you are using to be able to generate wonderful slotted boxes.
I told it I wanted a 1 3/4" box and with the click of a button
it gave me a pattern that fitted together wonderfully after 
I took in the Make the Cut (did a fuse and weld  so all lines 
in each piece were joined) then cut using 3mm funfoam.


You will find the extension HERE at Maker
You then download and unzip.
Find where you have your Inkscape folder 
 You find the share folder click on that
 Then the Extensions folder  and click on that then drag 
and drop the Boxmaker.inx and the Boxmaker.py
into that folder.

 It is  now ready for you to open inkscape .
Under Extensions
 You will find Laser  and then click on that and to tabbed
box maker and click on that
 and then you will get the box pop up .
NOW I did not know what these things did really so 
I used Maker example  to work out what to do .
 Clicked apply and I got this on my screen
 Then took that too Make the Cut where I found that 
each side of each box was lines not joined so I then 
went to fuse and weld  turned to top tolerance and 
clicked
Then you end up with a cut file all ready to cut
 I Cut mine out of fun foam.  I spent nearly 4 hours trying 
to get the Zing to cut  the fun foam  changing force  with not much 
luck. (but I did get one cut  but was not neatly cut )
THEN I searched the net to find that on the KNK Zing yahoo group
in the Database section Sandy has a wonderful list of settings
used to cut LOTS and lots of things and one of them was fun foam
I wish i had looked there 4 hours earlier as  the settings 
were not what i would have guessed in a million years  
BUT THEY WORKED
HERE is a Fantastic list of settings for all types of materials to cut 
on ZING  
Well worth joining the yahoo list if you have not already