LET's BEGIN
Clicking on each picture to view bigger
Start with a rectangle
Then a smaller one for the opening
Do an EDIT copy and paste in place on another layer
Go back to the first layer and select the node edit tool
and select the right line of the small rectangle and click on right
arrow on keyboard twice (this is need so the card opens
and shuts nicely when card is finished)
Now you need to select the big rectangle of the
inside layer and get a insert shadow of that
(this is needed so you dont see the inside of the card edges
when the card is finished)
Now you go back to the bigger rectangle of the inside of the card
and delete
You then select the new shadow and the inside small rectangle
and do a join that now becomes the base for your INSIDE CARD
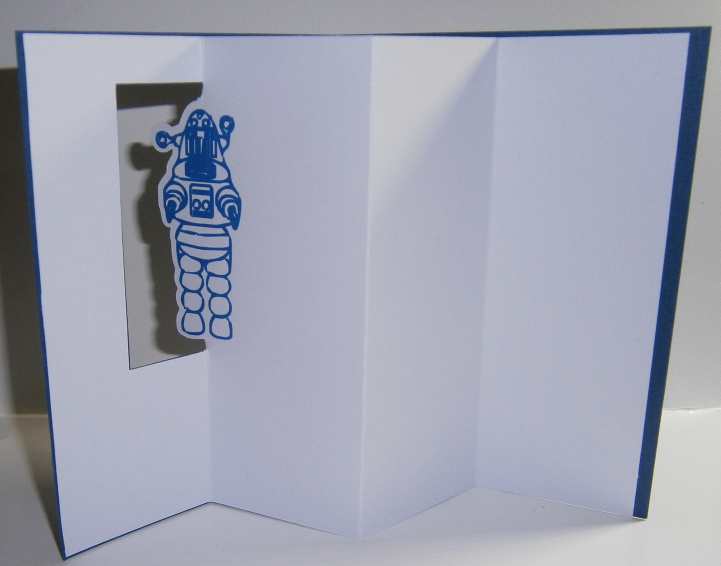
THIS picture is not needed I wanted to show you where
you card design needed to be fit into just the yellow area
I brought in my design
Then needed a blacked out shadow of that design
Select the shadow and the inside card and do
a Weld
that is now your inside card
Time for score layers get a new layer
turn snapping on to 1/2"
Get pencil and holding control key down
make a line in the
center point of your card
Name this the outside card score lines
Get a new layer for the inside score lines and mark half way
from top to bottom and then half way from center on the right
hand of the card (see picture)
then on the left side of the card mark from top to the opening
and bottom from opening to bottom of card (see picture )
and name this layer inside card score
Now you have you card designed
cut and then head to
to see how to make card up
Hope you enjoy this .
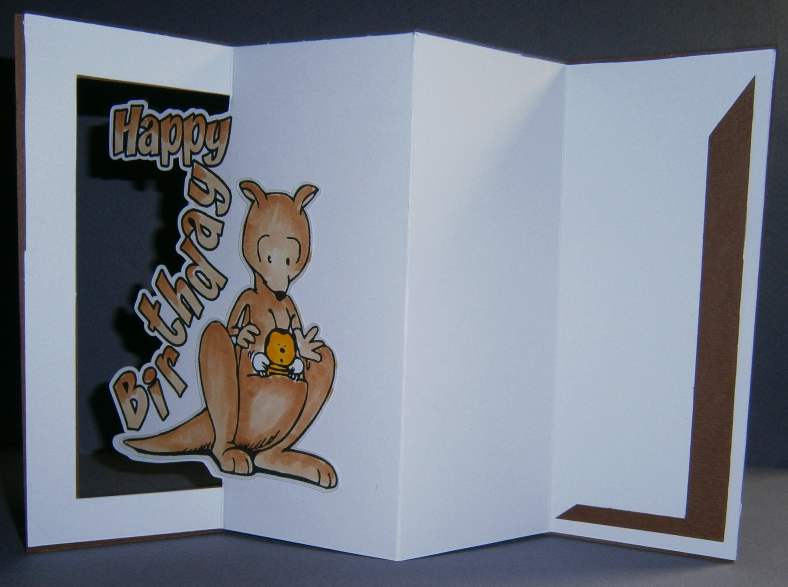
See more examples
Other samples
Now i know a lot of you are waiting for lattice
lesson on this card please I will work on it and
get it up as soo as I can .