Scrap Factory Expanaion Packs

Thursday, January 31, 2008

BATMAN plus Pattern

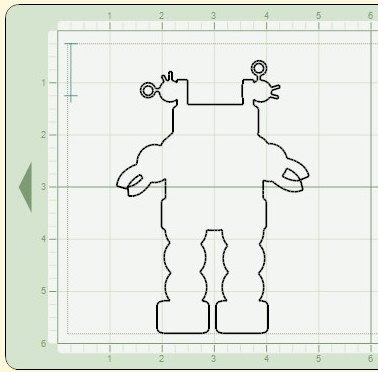
This is a batman that I made using the pattern of c3po . As it is very much the shape of a person i thought i would give it ago (don't think I would do any other characters, but you can play around with this pattern and come up with others (would love to see what you do please show me ) )
If you have a cricut and cricut design studio HERE IS THE PATTERN

Wednesday, January 30, 2008

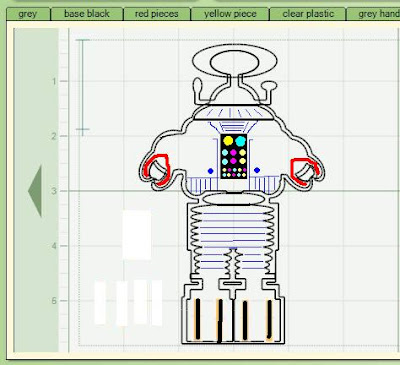
INSTRUCTIONS/PATTERN for C3P0 robot

I change my C3P0 pattern this afternoon and re made it (was not at all really happy with the other one )
This Robot is fiddly to put together but it is all worth while.
If you have a cricut , george cartridge, all mixed up cartridge and cricut design studio HERE IS THE PATTERN
NOTE Best cut with NEW blade and mat

dis guard the pieces with crosses on where the crosses on
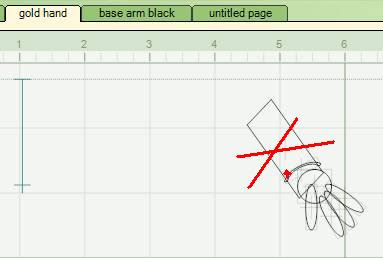
Dis guard the red parts and where the arm meets the bodyon this gold mat (except for the center circle of the eyes)


dis guard the pieces with crosses on


dis guard the pieces with crosses on


where the red arrows are are not needed (this is cut with the gold hand mat


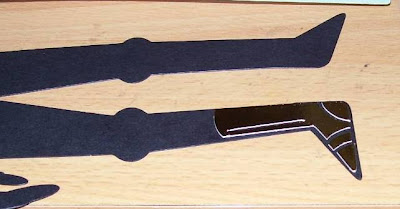
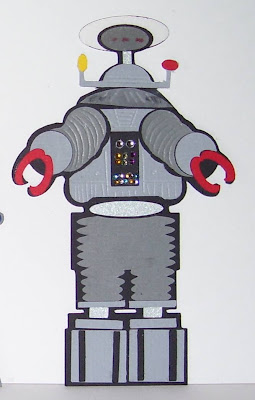
This is how you constructed it piece by piece

Card making CD's for sale in USA

Alota rubber stamps have card making lesson CD's for purchase at Alota rubberstamp
There are 6 so far .

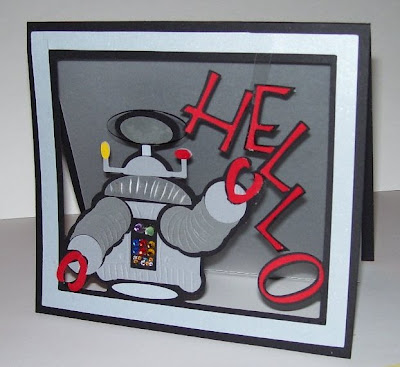
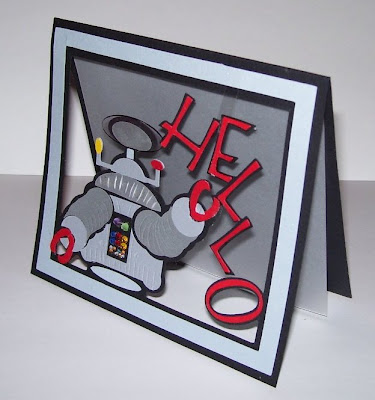
HELLO Lost in space card PLUS PATTERN

If you have a cricut and cricut design studio HERE IS THE PATTERN
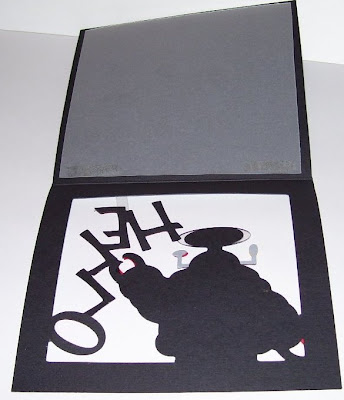
This card was cut then i fixed the pattern, i have now fixed it so i don't need the piece if clear plastic to hold the lettering to the top of the card it hold there when it is cut.
PUTTING together and scoring is much like the lost in space instructions so i decided not re do them .


WOULD LOVE TO SEE YOURS AFTER YOU MAKE IT

INSTRUCTIONS/PATTERN for lost in space robot

If you have a cricut and cricut design studio HERE IS THE PATTERN

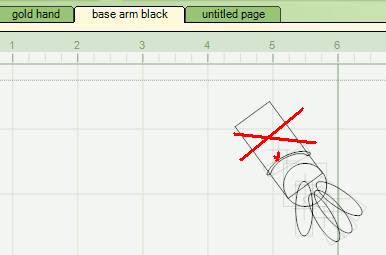
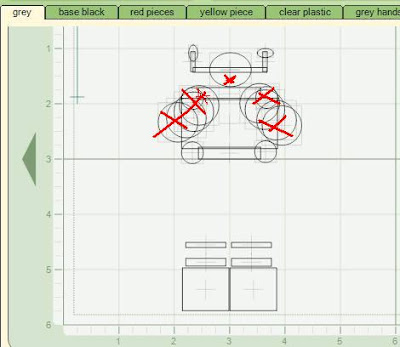
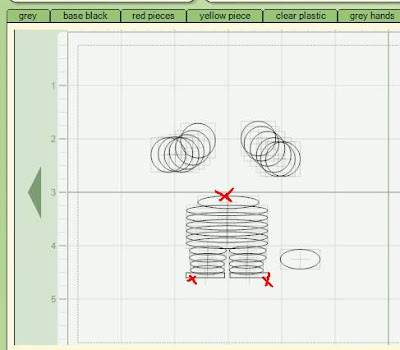
After cutting the grey dis guard the pieces marked with red x on this picture

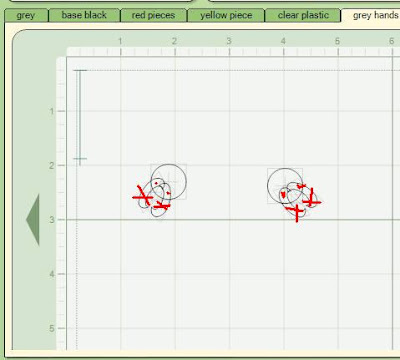
dis guard the pieces marked with red x on this picture

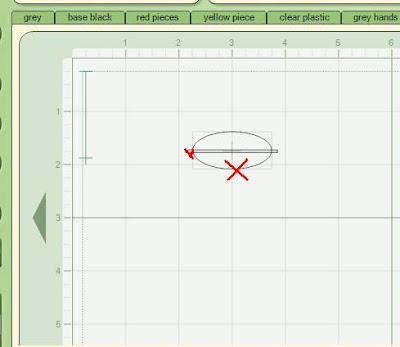
dis guard the pieces marked with red x on this picture (had to have them on there so they were cut the right shape)

now for these pieces you need a embossing scoring tool

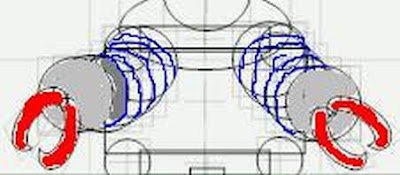
Cut the vellum piece , dis guard the pieces marked with red x on this picture AND score as shown in blue on this picture

And score the arms as shown on this picture in blue

Score the body as shown on this picture in blue

ENJOY PLEASE DON'T FORGET TO SHOW ME FINISHED PROJECTS when you have used them i love to see them

Tuesday, January 29, 2008

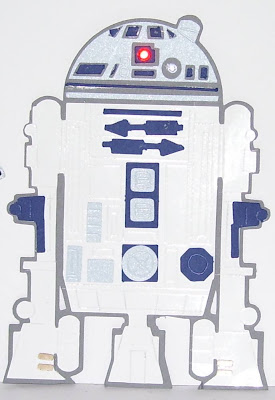
Instructions + R2D2 ROBOT plus Pattern

Here is the second pattern as promised
If you have a cricut and cricut design studio HERE IS THE PATTERN


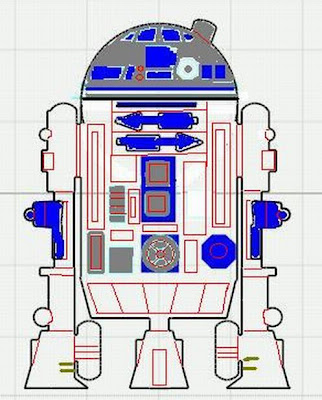
You need a scoring embossing tool and ruler for this robot it needs a lot of scoring


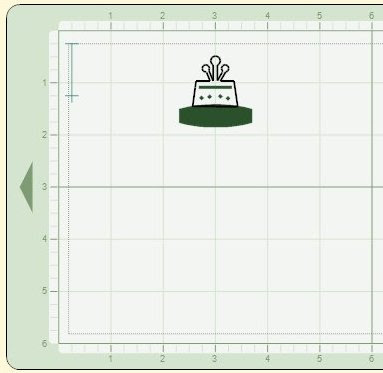
Cut base in dark gray . The white is best cut out in WHITE GLOSS card (as it gives a great scored line ) cut all pieces follow picture (above) for placement. after all pieces placed on you then score (using tool and ruler )LINES shown as all red lines on picture below

add Red and clear gem stone in place on head

enjoy

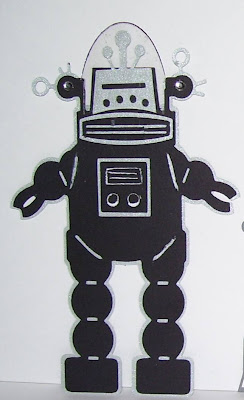
ROBBY THE ROBOT plus PATTERN

First pattern is now ready .
This one was not that hard to cut and put together so here it is

If you have a cricut and cricut design studio HERE IS THE PATTERN


grey base colour


This is cut in black and after cutting all pink areas on this picture is disguarded


This is cut in the grey disguard the darken areas on this pictures and what i do is put it through the xyron sticker maker on the side that sticks to the clear plastic .
The side that is not got the sticky on it you glue in place on the black head.


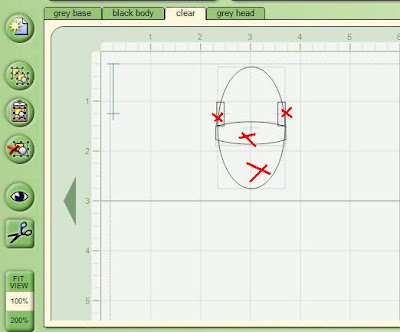
This is cut with clear over head projector plastic throw away areas marked with cross. Use a black permanent pen to mark the edge of this piece and attach to the
grey sticky head

Monday, January 28, 2008

Triple magic zig zag plus pattern

lesson on how to use this pattern is in the previous post only thing different is after you have added one zig zag you add a second to make three zig zags together
If you have a cricut and cricut design studio HERE IS THE PATTERN

LESSON Magic ZIGZAG plus pattern

Thisis done using the CRICUT cutting machine, CRICUT design studio and the george cartridge

If you have a cricut and cricut design studio HERE IS THE PATTERN

Cut pattern out in two contrasting colours

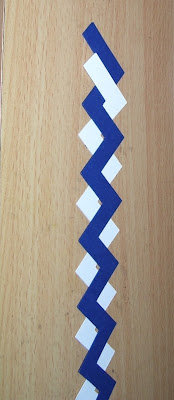
lay them together (you can see that i have the white one behind but the top of the white is on the top of the blue.

Now holding the top wrap the blue to the back (you will notice that the first four zig zags are now in place)

Now you wrap the white to the back of the blue

Then the blue to the back and you will see the magic appearing

and the white to the back

Continue till they are both intertwined with each other

and here is the finished piece

HELPING with shading your own designs LESSON

Yes! another cricut how too lesson . Had many requests for this one.
NOW before you read on I have to say this is the way I DO it there might be other ways.
OH and i do not work for cricut or provo craft this is just to help my cricuting friends out.


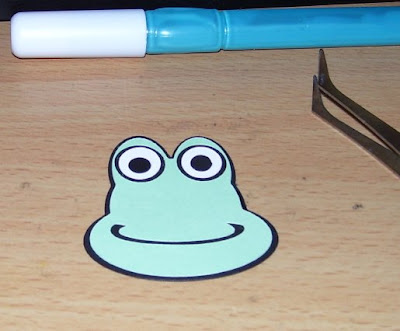
Been asked how to shadow own designs so here it is (my frog is not the nicest but it will do for the lesson )

With new design add the shapes to make up what you want your design to look like


Add a new mat


and push the eye to preview OPPS i forgot to weld the shapes
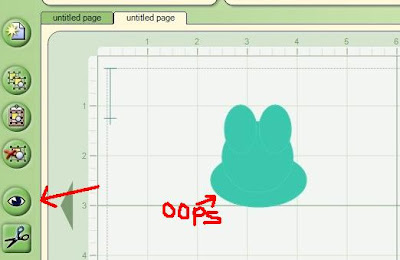

Back to first mat select each shape and push weld for each one
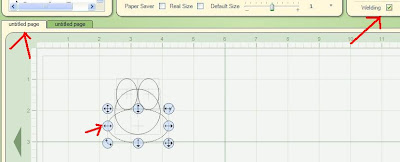

Back to your new mat and push preview eye and this is what you should see
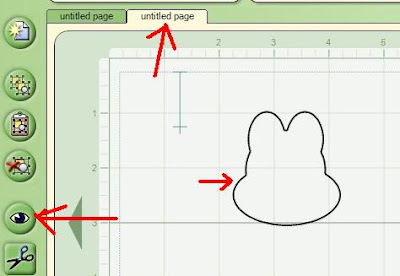

Go back to first mat and select the shapes push copy key , then go back to new mat and push paste key (in this case i have brought a copy of the oval to the new mat )
make it bigger slightly and move into position so that the oval shadows the other oval
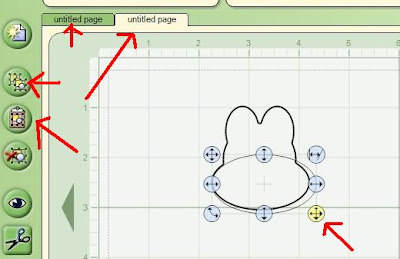

Continue to do this one shape at a time (Go back to first mat and select the shapes push copy key , then go back to new mat and push paste key and make it bigger slightly and move into position so that the oval shadows the other shape)
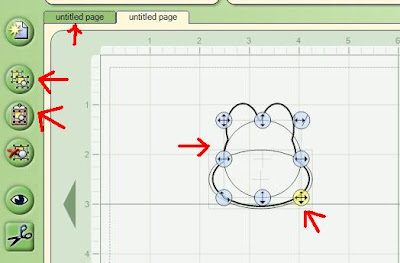

you can start to see that it shadows
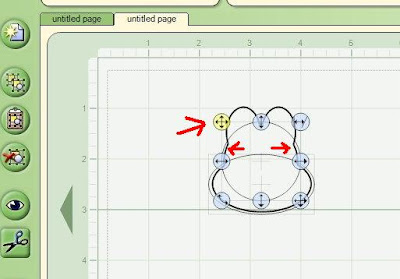

when all pieces are on there is a shadow around the preview
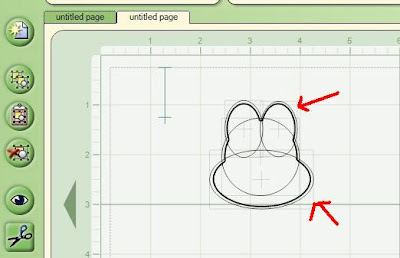

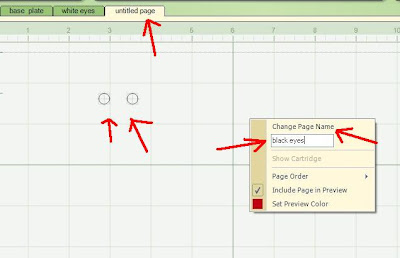
Now to rename that layer to Base or shadow or what ever you wish by right clicking on mat and bring up dialog box changing name and PUSH on CHANGE PAGE NAME
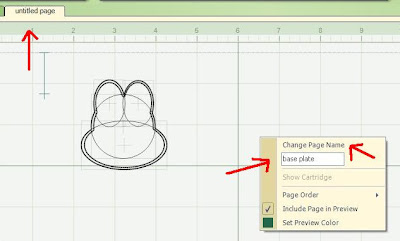

Back to first mat and add mouth (NOT WELDED )
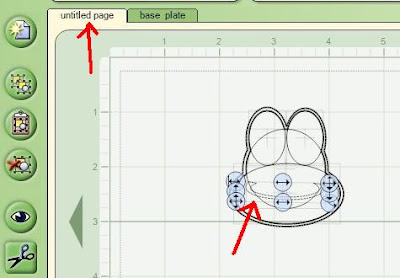

And add eyes (NOT WELDED)
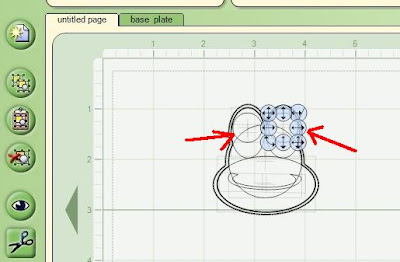

get a new mat push preview and you will see where things are
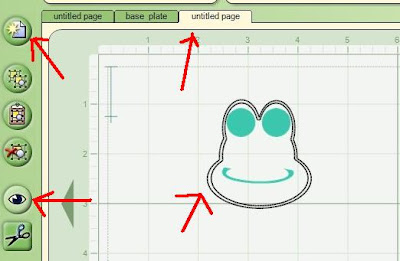

Now add the white part of the eyes on this mat making sure it is smaller circle than the circle on the preview
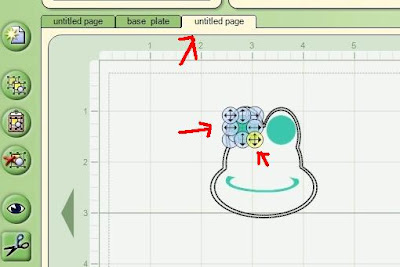

and center it so it looks like this
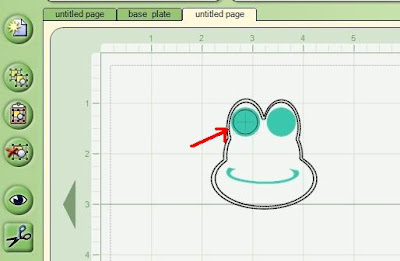

add another one for the other eye
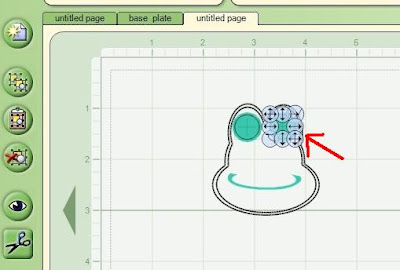

Name this mat white or what ever you want
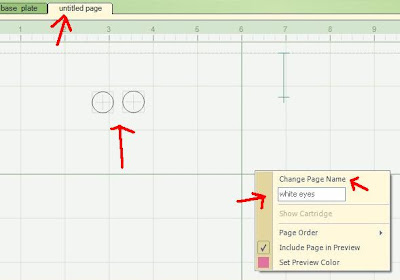

get a new mat , push preview and add circles for the black of the eyes
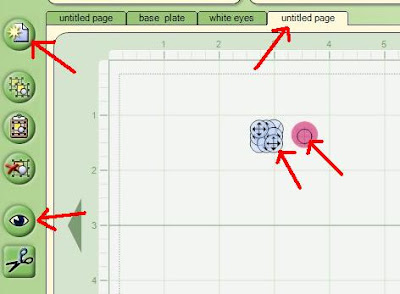

Now change name of that layer to what ever you want and PUSH change page name

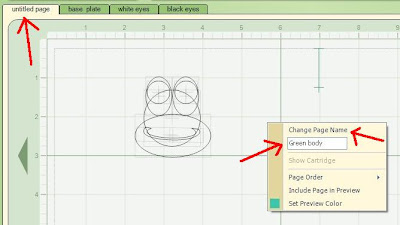
Back to first layer and change the layer name (green body) and push change page name

Now ready to cut pieces not needed (arrow)


glue green on to base
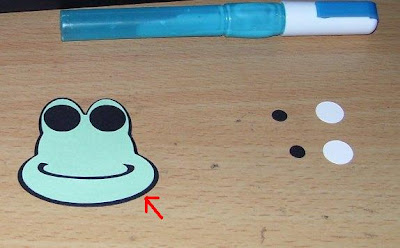

then eyes in place
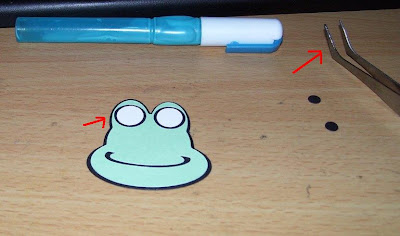

And last the black of the eye