Lets Begin
Using the die cut out the shape
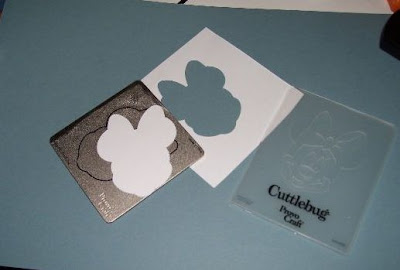 Now after lots of practice i found it easiest if you use a temporary tape to keep it from slipping in the embossing folders. JUST add a tiny bit to the back of your project.
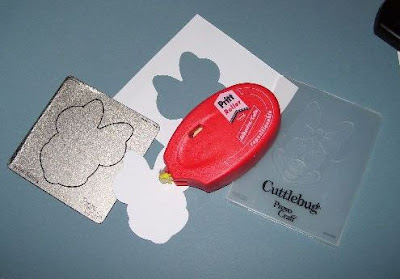 now with the folder opened in your hand line up the cut out with the picture (there is a tiny board all way EVENLY around the cut out
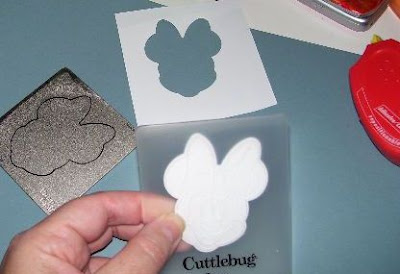 Holding it in place bring the back up so as the tape holds it where you want it to be give another look to see that it is in place
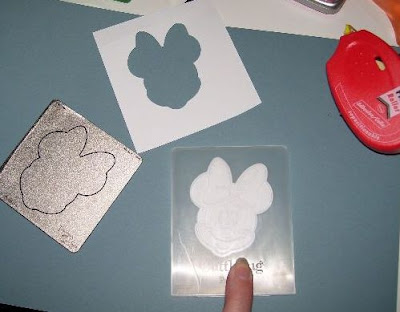 run it through your cuttlebug to emboss
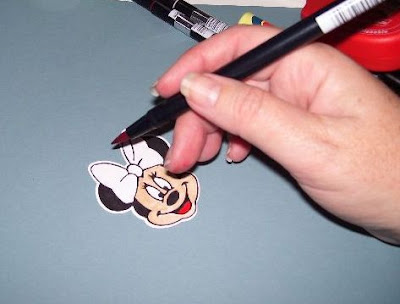
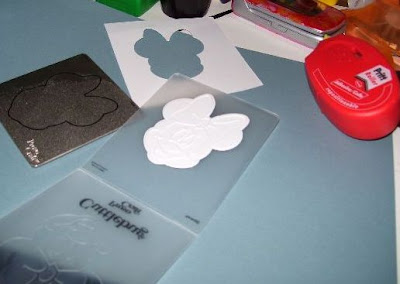 Now using a permanent black marker
 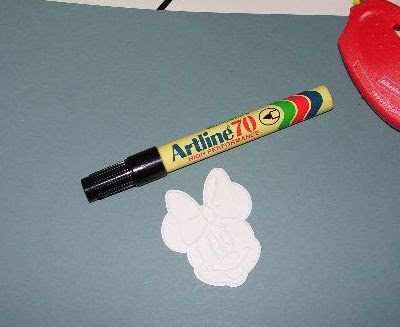 Taking your time go over the raised section on your embossed thing (THIS stage don't rush)
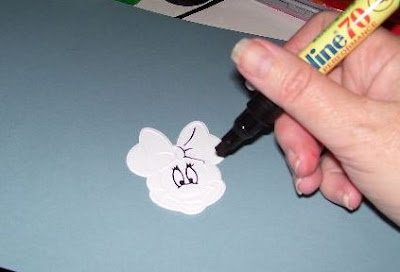 Then it should look like this
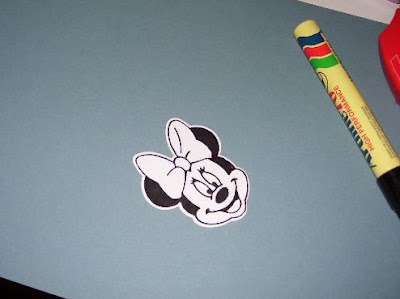 The good thing is because you have used permanent marker for the black part there is no way when you are colouring in that it will bleed (P.S. well it will if you use alcohol based inks )
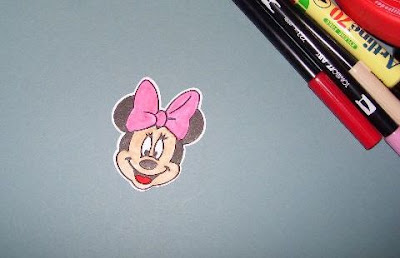
 and you now have wonderfully coloured embossed piece to put on your card or scrapbook page.
TIP :The temporary tape you put on the back . if you are sticking it down on page does not matter as you will just be gluing or taping it down BUT if you are having it where the back is showing and it is sticky from the tape put a little bit of talcum powder on your hand and rub it on the tape it will take the sticky away and because it is whit you will not see it.
 Hmmm i don't see how they can sell many from the packaging it just does not do it justice .

Hi Susan, I visit your blog often and find all kinds of great ideas etc., Thanks for the talc tips, never thought of that.
ReplyDeleteSusan you are one of those most creative people that make the rest of us say "Why didn't I think of that?" You are great and I love ya. Thanks so much for all your ideas
ReplyDeleteLove Minnie! Keep it up!
ReplyDeleteThanks again for sharing!
Thank you so much. Just got some of these folders and was not sure how to start. You make is look easy. Can't wait to try it.
ReplyDeleteSusan, I've been trying to post something for a while, but I get stuck when I'm ready to post because of the identity thingy. Hope this works this time. I just wanted to thank you for all your help with SCAL, Cricut, and Inkscape. I am a visual person, so all the pictures and the instructions help me tremendously. I'm sure you know how talented you are and generous you are. Thanks for all your hard work.
ReplyDeleteThank you Susan for showing how to use the embossing/die cuts. I just bought one and there were NO instructions on the packaging.
ReplyDeleteMarjorie from TX
Susan,
ReplyDeleteThanks for the calendar and the great idea.