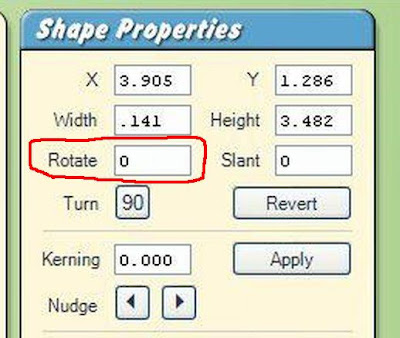
1. select a shape
2. I place on the mat and make it the size i want it
3. Make sure you have it weld checked
4. and click the COPY button

5. Click the paste button and it will place directly over the first on
6. Now type in 20 on the ROTATE and click enter

7. it turns
8. click paste button again
9. it will paste one on top of the first one again
10. type in 40 on the ROTATE button and press enter on keyboard(this is what i have choosen to do go up by 20's it all depends on what you want to go up by)
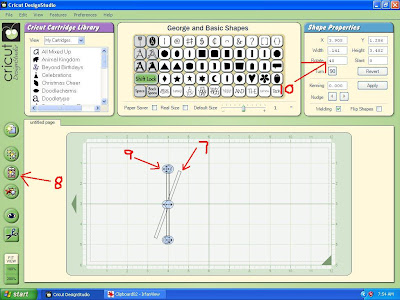
11. it will move to the 40* mark for you
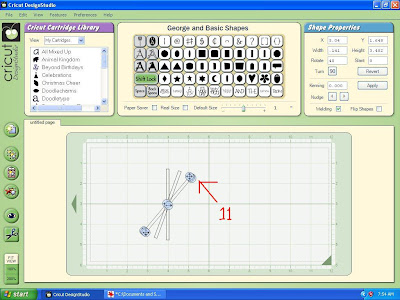
12. continue pasting
13. and going up by 20*'s
14. and they will keep going round evenly
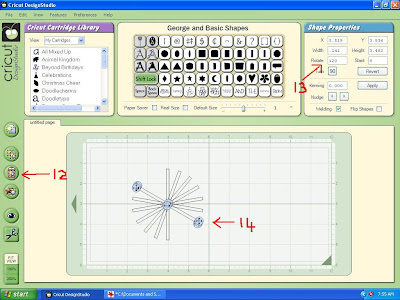
16.continue pasting
17.and going up by 20*'s
18. till you put the last one in (which will be 160*)
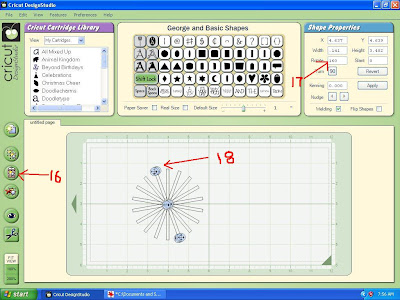
19. it looks like this
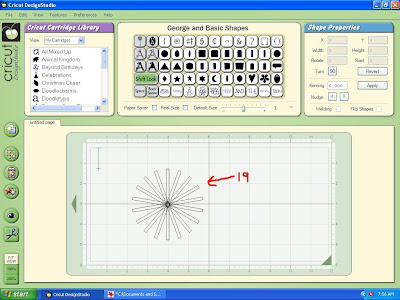
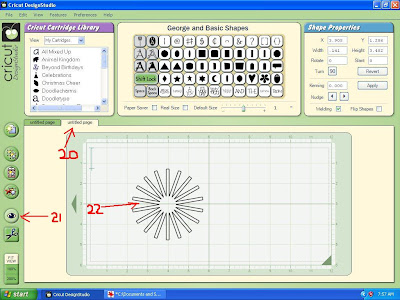
20. to view it get new mat
21. push on the preview button (EYE)
22. and here is how it will cut out
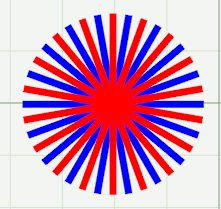
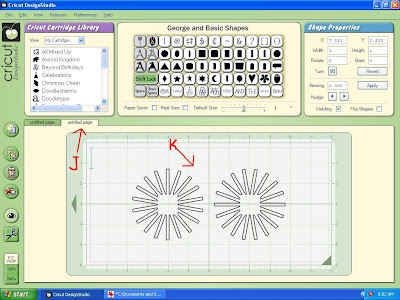
this is what two would look like cut in two colours and laid on top of each other off centered .
BONUS for shapes that you want to add in the center Like ovals and squares that you want to off center you will need to make a another one
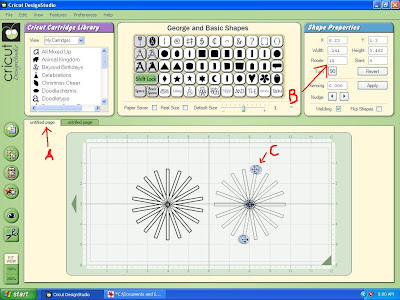
A. back to first mat and start a second on by pasting again and moving it across on the mat
B. this time starting by typing 10 in the ROTATE
C. and go up by 20's (10, 30, 50, 70. ect)
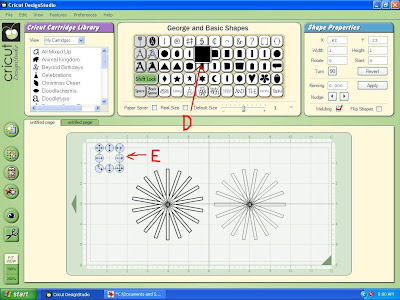
D. now select the shape (select the weld button
E. for this one i selected a square
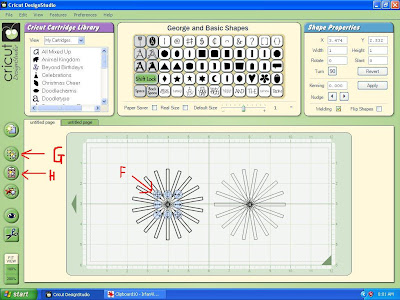
F. move into center of the first one
G. push copy button
H. push paste button (it will paste on top of that one )
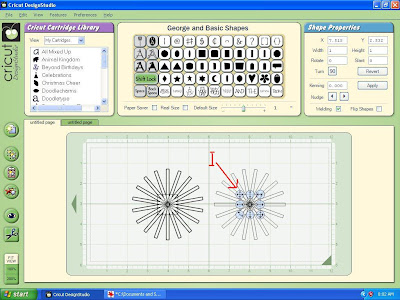
I. Now move across to the center of the other one
J. click on other mat and preview button (eye)
K. and this is how they will cut out they will now be off centered when they are laid
on top of each other with the squares lined up perfectly
I have done this to do the mane of the lion with a oval head in the center.

I wondered what that button did!
ReplyDeleteOnce again you have taught me something new. THANKS
Great tutorial. Thank you!
ReplyDelete