Yes! another cricut how too lesson . Had many requests for this one.
NOW before you read on I have to say this is the way I DO it there might be other ways.
OH and i do not work for cricut or provo craft this is just to help my cricuting friends out.
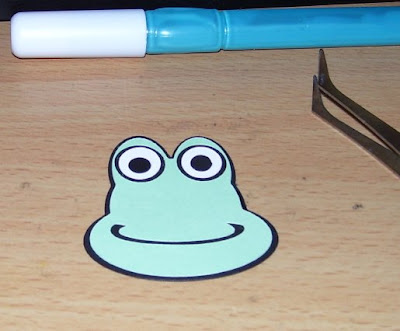
Been asked how to shadow own designs so here it is (my frog is not the nicest but it will do for the lesson )
With new design add the shapes to make up what you want your design to look like

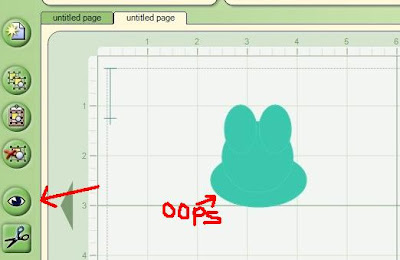
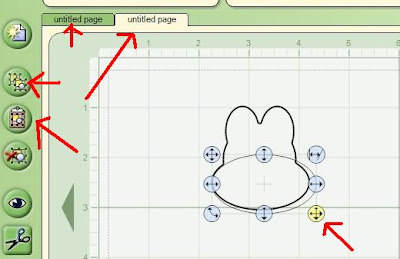
Add a new mat

and push the eye to preview OPPS i forgot to weld the shapes
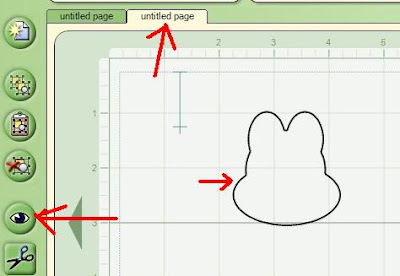
Back to first mat select each shape and push weld for each one

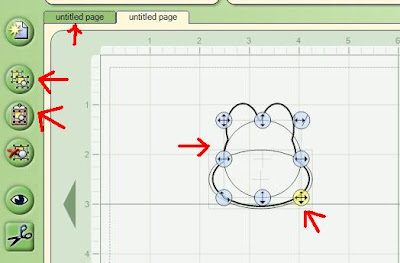
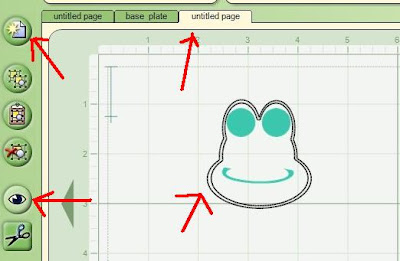
Back to your new mat and push preview eye and this is what you should see
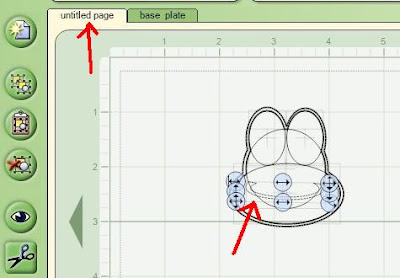
Go back to first mat and select the shapes push copy key , then go back to new mat and push paste key (in this case i have brought a copy of the oval to the new mat )
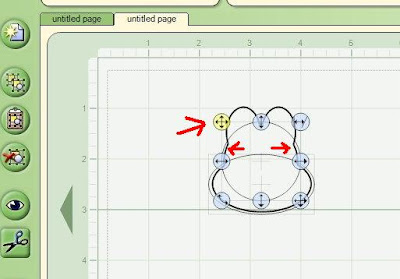
make it bigger slightly and move into position so that the oval shadows the other oval
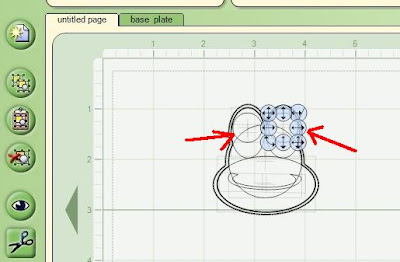
Continue to do this one shape at a time (Go back to first mat and select the shapes push copy key , then go back to new mat and push paste key and make it bigger slightly and move into position so that the oval shadows the other shape)
you can start to see that it shadows
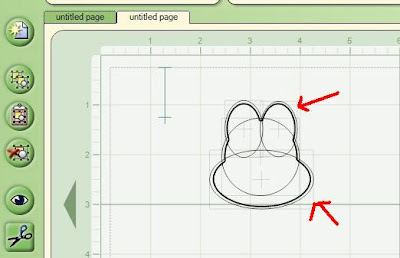
when all pieces are on there is a shadow around the preview
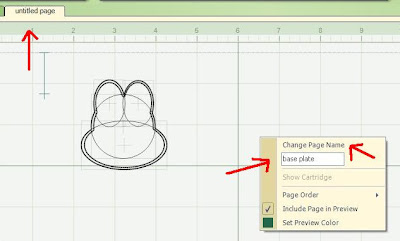
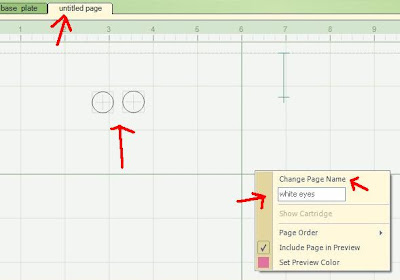
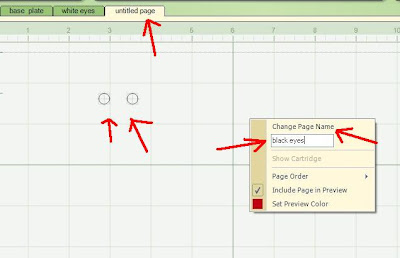
Now to rename that layer to Base or shadow or what ever you wish by right clicking on mat and bring up dialog box changing name and PUSH on CHANGE PAGE NAME
Back to first mat and add mouth (NOT WELDED )
And add eyes (NOT WELDED)
get a new mat push preview and you will see where things are
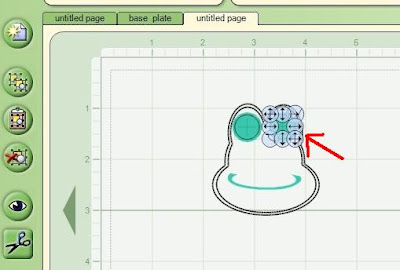
Now add the white part of the eyes on this mat making sure it is smaller circle than the circle on the preview
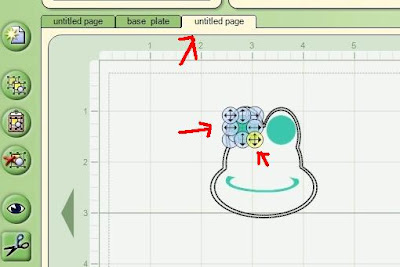
and center it so it looks like this
add another one for the other eye
Name this mat white or what ever you want
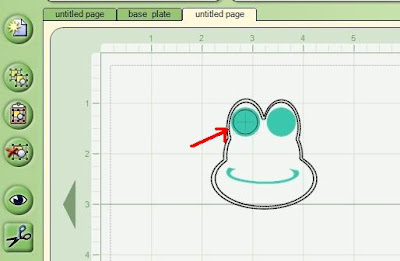
get a new mat , push preview and add circles for the black of the eyes

Now change name of that layer to what ever you want and PUSH change page name
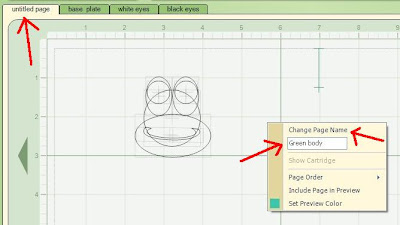
Back to first layer and change the layer name (green body) and push change page name
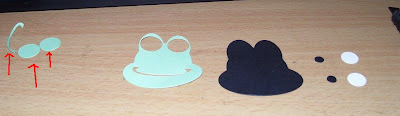
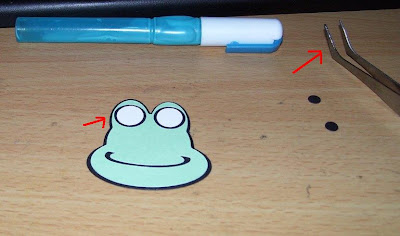
Now ready to cut pieces not needed (arrow)
glue green on to base
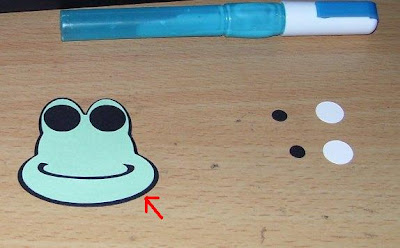
then eyes in place
And last the black of the eye